If you are looking to buy a new mouse, especially if you are a gamer, you have a huge chance to come across the term CPI. P The acronym CPI represents “Counts Per Inch.” It is often confused with DPI, which stands for “Dots Per Inch.” To put things in perspective, so you understand what CPI stands for, with a CPI setting of 800, moving your mouse by one inch will move the cursor 800 pixels. The majority of professional gamers and enthusiasts use a CPI setting of below 3000. A higher CPI value provides a rule for finer movements of the mouse. In addition, with a higher CPI value, it will be more convenient to use the mouse on a high-resolution screen. So with all this in mind, what is the CPI button on a mouse used for?
Most of the standard mouse models available today have a fixed sensitivity. You cannot change the CPI parameter of these regular mice other than through the control panel. The difference between a gaming mouse and a regular one is the presence of a special button (the CPI button) that is used to change the resolution.
The CPI refers to the mouse’s sensitivity, and it is used to determine the distance the mouse covers on the screen with relation to the physical movement of the mouse. Using the CPI button, a gamer can change the sensitivity. For example, changing the sensitivity can help gamers who play shooting games for much more accurate aiming. The higher the CPI, the faster the cursor will move on the screen.
Judging a mouse solely based on its CPI can be quite misleading. A gaming mouse with high CPI and low specs is virtually useless; the mouse sensor isn’t better if it has a high CPI. There must always be a balance of CPI, IPS, and acceleration. Unfortunately, mouse manufacturers will sometimes inflate the true CPI capabilities of their products by using firmware to cover up lesser sensors.
The last thing you would want is to buy a mouse with glowing reviews thinking you are getting a high-performance sensor only for your gaming experience to be bogged down by firmware processing instead of real 1 to 1 tracks. In this article, we are going to discuss all that relates to the CPI button on your mouse, including what it is used for, how to use it, and how to test it. We will also demystify the difference between CPI and DPI and recommend the CPI you should use for your mouse. Therefore, if you are an avid gamer, and looking to get informed about this, read on to find out more.
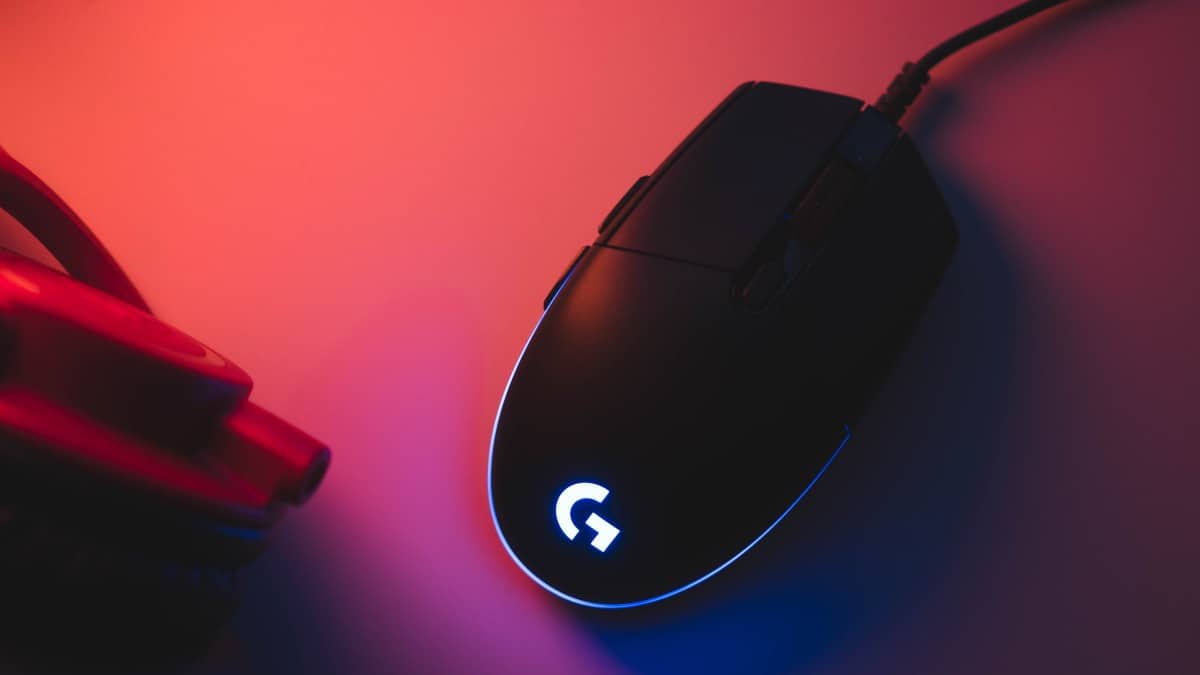
What Does the CPI Button on a Mouse Do?
Shopping around for a mouse will usually land you on product pages that list a specification of CPI or DPI. For the most part, these two are different from each other. In this article, we are more interested in CPI. CPI stands for Counts Per Inch. This generally refers to the sensitivity of the mouse. The higher the CPI level of a mouse, the more sensitive the mouse will be to your movements. You can look at it as the number of steps your mouse’s sensor reports to your computer when it moves one inch. The number means how many pixels can fit one inch on the surface of the mouse sensor.
Here is the fast answer to all your questions!
The most standard and regular mice available today have a fixed sensitivity, and you cannot change the parameter of these mice other than through the control panel. Therefore, these mice will most of the time not have a CPI button. However, the case is quite different for gaming mice.
Gaming mice will usually come with a CPI button. But what most gamers who are new to this phenomenon wonder is what this button is used for. If you are one such person, then I have just the answer for you.
How Does Mouse CPI Affect Sensitivty?
The CPI button on a gaming mouse technically changes your mouse’s sensitivity. Depending on the amount of CPI options on your mouse, each time you click the button, your mouse will get considerably faster until you reach the limit, after which it will go back to the slowest limit.
An inch is about 2.54 centimeters long. If you set the CPI value of your mouse to about 500, a distance of one inch is divided into 500 parts. So if you move your mouse a distance of one inch, the pointer on your screen will move by 500 points. If you change the CPI level to say 1000, if you move the mouse over a distance of one inch, the pointer will move 1000 characters on the screen. Since the same route is now split into more characters, the response of the mouse is faster and more sensitive.
So when you look at a mouse’s CPI level, let’s say 100-1200, this means that it can take anywhere between 100-1200 steps per inch moved. A lower number makes the cursor/pointer appear to move slowly, and you will have to move the mouse further across the surface to get the cursor to move to the other side of your screen. A higher number will require less movement from you.
So the CPI button helps to adjust the sensitivity of your mouse. This ability to adjust sensitivity is useful, especially for gamers who use the mouse for playing. For example, setting the CPI level higher can be useful in aiming when playing shooting games.
All in all, the CPI button mostly found in gaming mice can come in handy, especially if you are looking for accuracy in your gaming endeavors.
What Is CPI Level on a Mouse?
As we have already discussed, CPI represents the number of steps that the mouse sensor reports when moving one inch. So with this in mind, what is the CPI level on a mouse?
The CPI level refers to the CPI parameter/setting you can set your mouse to. A lower CPI level reduces the distance the mouse moves on screen when moving the mouse a fixed distance. A higher CPI level increases the distance the pointer moves on screen when you move the mouse a fixed distance.
Say, for example, you set the CPI level on your mouse to 1000. This means that if you move the mouse one inch on the surface, the pointer will move 1000 characters on the screen.
Different mice will come with different CPI levels. There are even some that go as far as 16,000! All in all, the CPI level you choose will determine the sensitivity of your mouse and how accurate it will be, especially in your gaming experience. There are recommended CPI levels for gaming mice that avid gamers use to configure their gaming mice and work best for them, but we shall discuss this later on in the article.
How Do I Use the CPI on My Mouse?
On most mice, the CPI button is the button you will find just above the scroll wheel. When this button is pressed, it changes the sensitivity (or CPI) of the mouse. So how do you use the CPI on your mouse?
As I have already mentioned, different mice will come with different CPI levels. Some will have a CPI level from 500, 1000, 1500, 2000, 2500, 3000, or 4000. It all depends on the mouse you are using. There are even some that can go to a CPI level of as high as 16,000. For beginners, the default mouse sensitivity is usually good enough to start feeling a game properly. On the other hand, advanced gamers usually have to adjust the CPI on their mice for a more fluid and accurate gaming experience.
So how do you use the CPI on your mouse?
Well, you have to click the CPI button. Clicking the CPI button on your mouse will increase the sensitivity of your mouse, meaning that the pointer will move faster on the screen. Pressing the button once more will set it to a higher sensitivity rating. Consecutively pressing the button raises the sensitivity until it reaches the limit, after which if you press the CPI button once more, it will revert to a lower CPI level. Therefore the mouse will be less sensitive.
So to use the CPI on your mouse, you have to click the CPI button until you are satisfied with the sensitivity of your mouse that is appropriate for your gaming experience.
How Do I Test My Mouse CPI?
There isn’t an application or setting on Windows that can allow you to see the exact number of your mouse’s CPI. However, there are two ways you can test your mouse’s CPI:
Checking the specification
The most accurate method is to look at the manufacturer’s specifications. To do this, navigate to your manufacturer’s website and look up the model of your mouse. Once the product page is loaded, look for the section that contains all the information concerning the mouse. For example, you will probably find the CPI in front of the tag Resolution.
Measuring CPI
If you can’t find the CPI online, then you can try testing the CPI manually. However, this method won’t be so accurate, so you have to take averages. For this, you will need a ruler, white paper, and a marker. Follow these simple steps:
- Press Windows + S and open the application.
- Proceed to click on Additional Mouse Settings, which is at the top-left side of your screen.
- Select Pointer options and proceed to uncheck the option Enhance pointer precision.
- Take out a paper and measure about 2-3 inches and mark it correctly with the marker. Then, go to the CPI analyzer website and hover over the 2-3 inches.
- Place the mouse pointer at the starting point and then bring it to the starting point on the paper. Then, in a straight line, bring the mouse from the starting point to the ending point. After you have done this, note the CPI as shown on the site.
- Repeat the process 5-6 times and record the readings. Take the average, and this will be the CPI of your mouse.
Like we earlier mentioned, this may not be the most accurate method to test your mouse CPI. It’s, therefore, better to look at the manufacturer’s specifications.
What Is the Difference Between DPI and CPI?
CPI is a term that is used to refer to the number of pixels that a mouse will detect when moving an inch. It refers to the sensitivity of a mouse. It is used to determine the distance the mouse covers on screen in relation to the physical movement of the mouse.
DPI, on the other hand, stands for Dots Per Inch. It is the measure of spatial or density print of video points. It means the number of individual points which can be placed on a line within the space of an inch. In other words, DPI indicates the number of dots per inch in digital printouts, which is the same as print resolution.
It’s likely that at this point, you are looking at your mouse and wondering why it says DPI instead of CPI. Of course, the correct terminology would be CPI. However, DPI is the most used term. Most companies try to use terms that the public can easily relate to and remember. DPI is a term that almost everyone has heard, and this is why most people use it in place of CPI.
In reality, they are meant to mean the same thing, mouse sensitivity.
What CPI Should I Use for a Mouse?
There isn’t a best CPI level that I can recommend. This is because it’s all dependent on your personal preference and use when gaming. Most gaming mice come with several CPI levels, and you should try each setting to determine what works best for you.
However, most gamers prefer a CPI level of 3000 and report that it gives them fast responses and good accuracy. So I’d recommend you try out such a setting and see how well it works for you.
Personally, when purchasing a new mouse for playing games, this is one of the most crucial things I consider.