
The very first movie night I hosted was on a budget $150 projector, projected onto a white bed sheet. It was an awesome night and everyone had a blast because no one has a projector movie set up. We also hosted it outside after spending a couple hours hanging it to the gutter with duct tape. At the time, I thought I was living the fancy life having my own outdoor movie set-up.
Little did I know there were tons of people who had gone before me and spent dedicated hours creating an actual home movie theater screen from major brands. All it took was a couple of curious searches through Google to realize there were some awesome, quality screens out there to make this process even easier.
The screen I’ll be reviewing today is called the Elite Screens Yardmaster. Don’t let the name confuse you, it can also be used for indoor movies as well! (The screen you see in my room is the same one we use for outdoor movies). Take a look below at the important qualities to note in this screen. At the bottom you’ll also find a list of related questions and buying guide tips.

Quality and Durability
Quality. You can easily find screens of the same quality material for significantly higher prices than this one. If you’re thinking about or already have a 4k projector, this screen can more than handle that. This is also because the quality of the projector matters more than the quality of the screen. Once you have a dedicated screen, there isn’t much need to upgrade it anymore. This is better than any amount of stretch you’ll be able to put on a white bed-sheet. Once the buttons are attached, it becomes perfectly stretched out from corner to corner. It is made out of CineWhite, the same synthetic material that movie theaters use!
I have a 1080p projector and the screen more than does its job on maximizing the display potential of my projector. It’s always fun to project a 4k video from YouTube to test the quality and man it looks good! A good screen will be able to capitalize on the resolution your projector is able to give. From my experience and looking around online, the only reason screens get more expensive than $200 is because of size and extra features. Ultimately, almost all of these screens are made out of the same material which I’ll talk about in a little bit.
Durability. It’s mildew resistant and easy to clean with soap and water. I haven’t needed to clean it yet after having it for two years. I’ve even dropped it completely on the grass face first. When I picked it up and dusted it off it didn’t even scratch or have a stain mark on it. You’ll have better luck with this screen even if you only use it for indoor movies because the screen is also designed to be a…well… YARD MASTER. Even other reviews of this talked about how forgiving it is to outdoor elements.
Even on the windiest of nights, you won’t see the screen flutter or act like it’s about to fall over. Feel free to watch on this thing all through the night because it’s moisture resistant. The description says not to use it during windy nights but we watched Incredibly Loud and Extremely Close on one of the windiest, California nights (the fires were really bad during the last summer because of it). Sometimes you might have to put some weight on the leg stands if you plan to bring this thing onto a beach or windy area. Either way, the legs are strong enough so long as it’s grounded in the surface.
If for some reason you scratch or rip the material, you can actually order just the screen sheet itself instead of replacing the whole thing. Small scratches and mini punctures will happen at some point if you move it around a lot but will wear away over a couple of days. I have a couple of small, notable scratches on it (and even a bug splatter from when I killed a mosquito on it) and it still doesn’t show up when I have my projector on. The bottom line is that it’s easy to keep this thing completely spotless if you take care of it right.
Size and Portability
Size. If you order this through Amazon you can choose which size you want to get it in. Increasing the size increases the cost by just a little bit. We have “medium” sized one which is 120 inches not including the black frame. It’s a little bit bigger if you count the black material around the actual screen. Before you buy measure the width of your wall vertically and horizontally. You want to make sure you have enough space to not only hang it up, but also be able to mount and remount it easily. In short, make sure you have some buffer space on your wall (extra 12 inches from all angles). I’ve found that the 120 inch one is the best size for multiple people to view. Based on the specs in the description, people can comfortably view from 160 degrees.
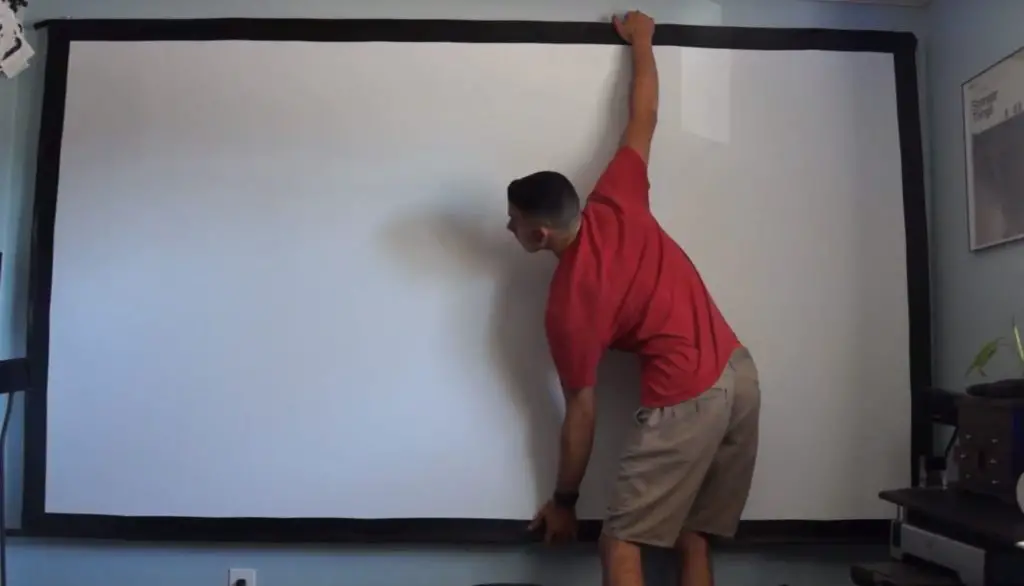
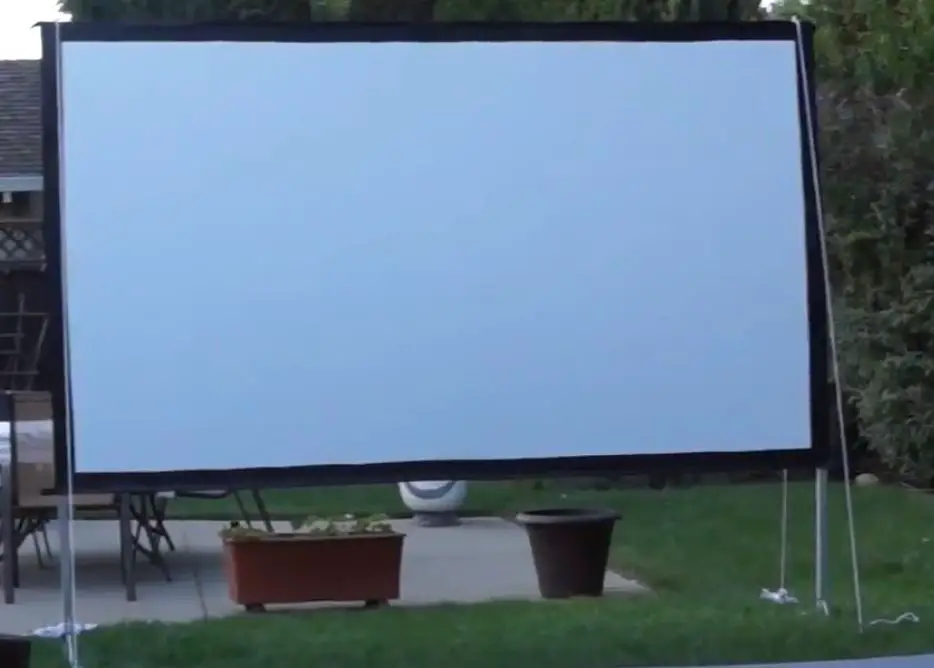
In this photo of me, you can see that I’m able to afford some buffer space vertically and horizontally. It’s not much and I would try to a little more. Sometimes I have to move the speaker system in order to get it outside. Nonetheless, it’s still really easy to move, which brings me to my next pointer.
Portability. This thing is deceptively light. If you had to you could easily move it by yourself. Without even checking the weight of it, my guess is that it’s somewhere around 5 pounds! It’s built with a metal frame that’s extremely light and easy to set up. I’ve seen videos of those inflatable ones and they don’t seem convenient for two reasons. 1. You have to blow them up and that takes time. 2. You need way more space in the 3d dimension (it’s not flat by any means). This one is infinitely more simple and quick to assemble.
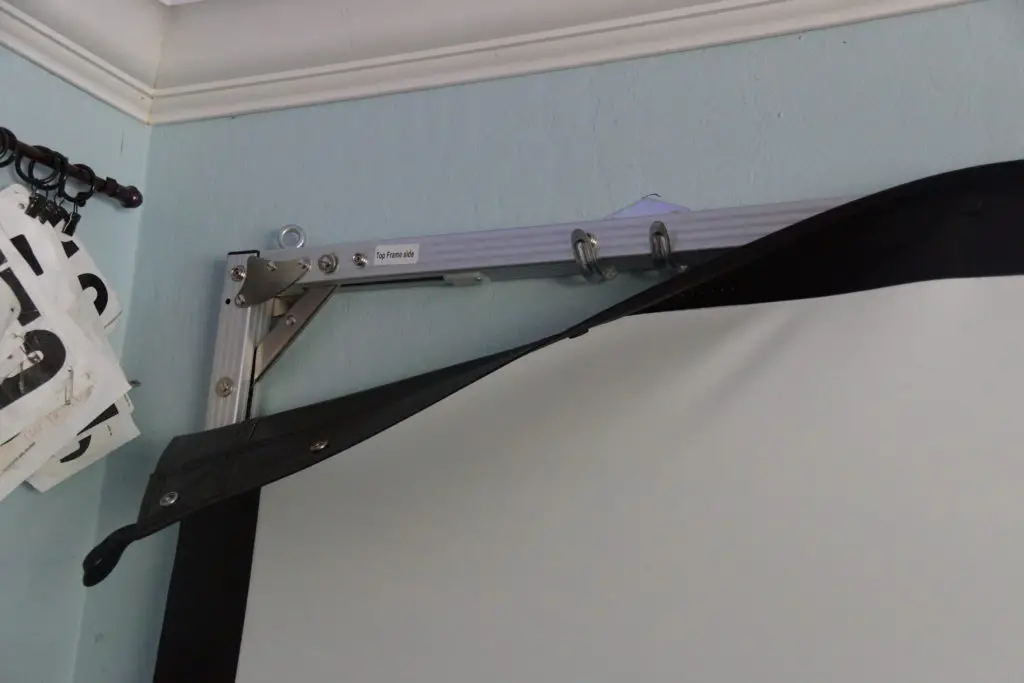
In this photo you can see that the metal frames just fit into place and the screen itself is buttoned into place. You might have to get external mounts for the wall itself. The ones in the picture were picked up from Home Depot and we have 3 of them. This makes attachment and detachment super easy and convenient. You won’t even need to follow the instructions the first time you set it up.
Outdoor Setup and Assembly
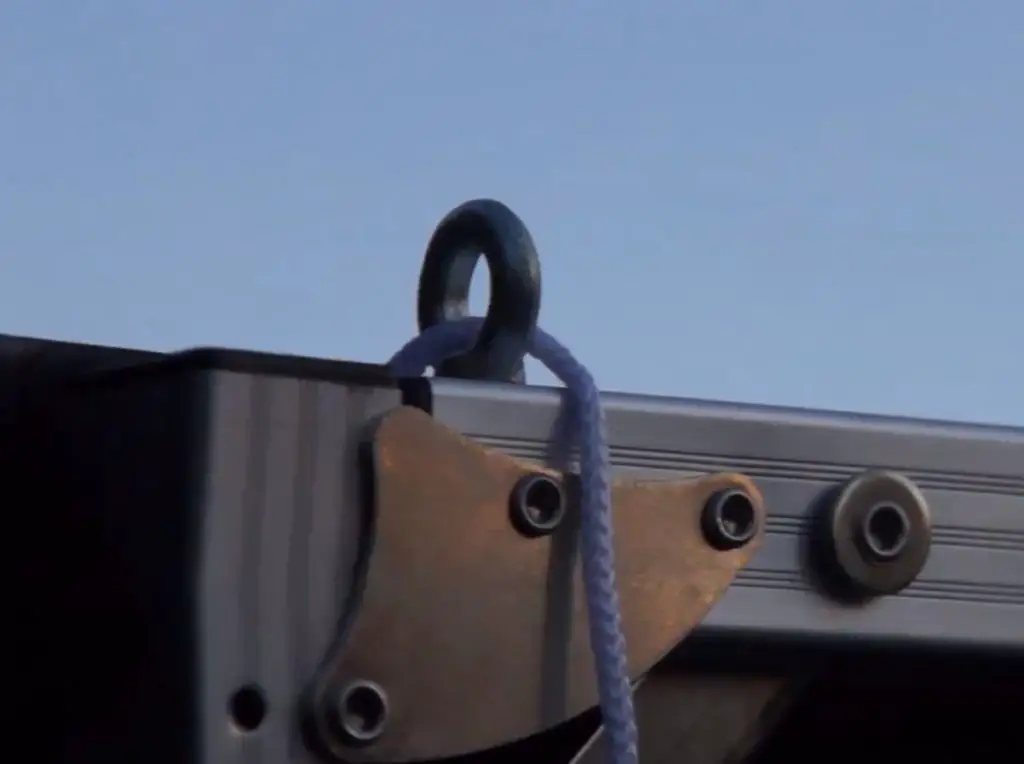
Assembly. As mentioned before, assembly is really easy and simple. All you have to do is stake it into the ground like a backyard tent. The screen will come in a tent bag including the stakes and the rope. It even comes with extra ones if your dog accidentally eats it.
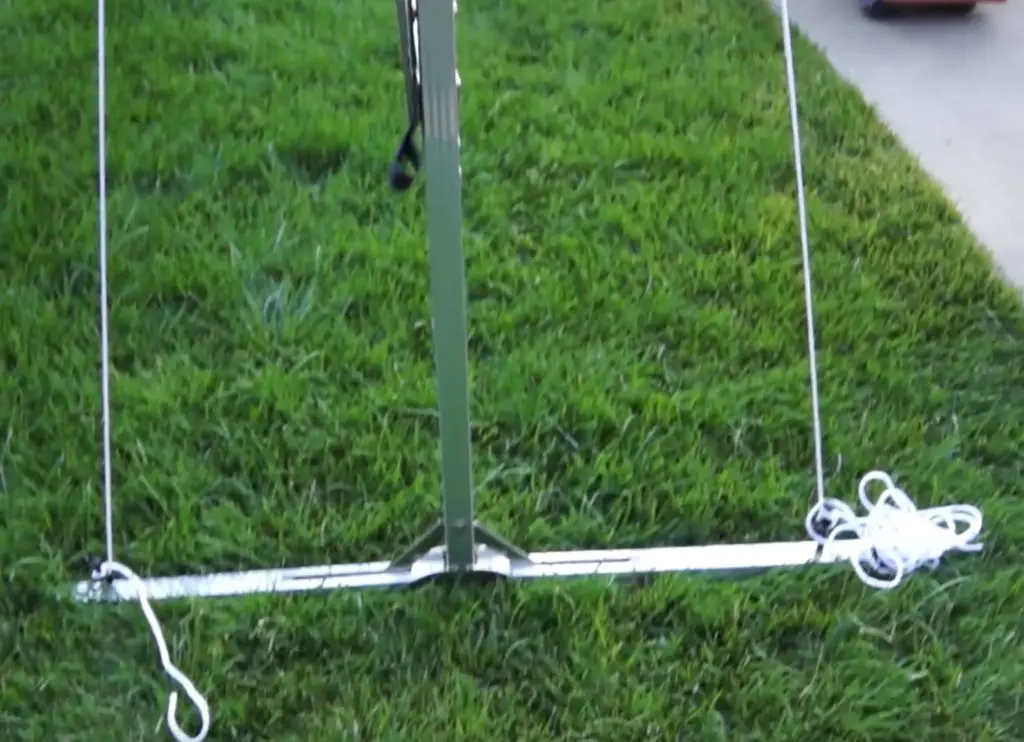
I actually timed how long it would take to set it up outside to see how easy it was. It took me 4 minutes to move it from my room, outside, and completely assembled (the screen itself was already mounted to the frame). The first time you set it up outside might be a little longer. But once you’re used to it, it will become a lot faster and efficient.
When you first order this one online it will come in the tent bag. It’s completely normal if it has some creases in it. All you need to do is button it to the metal frame and then let it sit for a couple hours before use. This will completely flatten out the screen and stretch it perfectly for that first movie night. Some people complain that they can’t get it out or that there are defects with it. In the worst case scenario of it showing up damaged, Elite Screens lists that they have a 2-year warranty on their Amazon listings page.
Related Questions
What is the best distance to completely fill the screen? If you get the 120-inch one as I did, you need about a 9ft distance from the projector to the screen. You can give or take about a foot but I’ve found that to be the optimal distance. Note that you don’t always have to fill the entire screen as it is a preference for some.
How much should I spend to get the best quality screen? I talked about this a little bit above, I don’t see a need to spend more than $200 on a screen. Some indoor ones can come with an automatic drop-down feature. Unless you’re getting a dedicated theater room and really going big, then you can get an outstanding quality screen for the same price I did. Elite Screens seems to have the best reviews overall compared to other screen companies. I also like the design of most of their products, as they have simple design and high-quality material.
Can rear projections also be used for the front projection? Yes, The image is best viewed from the front. An outdoor setup can easily accommodate a projector that is placed somewhere near the viewers. It’s not essential to be able to set up a rear projection but some people said it’s possible with a bright (3500 lumen) projector.
Can you put casters on the frame? No. It’s already extremely easy to move. It comes with leg stands and its lightweight build makes it so that anyone can pick it up and move it around the backyard.
Why is CineWhite the best material? CineWhite is a finer material than screens that have a more rough surface to them. It’s just like a TV. More, smaller and finer pixels give you better image quality- like 4k vs 1440p. You might have seen some projector screens in your classroom and noticed that it has a scratchy material, almost like the material on a seatbelt. This makes the image look grainy compared to CineWhite.
Why are you against the inflatable outdoor screens? Inflating them takes longer and is more inconvenient. They also fill more horizontal space and they start to deflate and affect image quality after a few hours. This also means that the only good way to use these would be to inflate them right before you watch. You also aren’t able to really set these up in advance.
What Constitutes a Good Projector Screen?
A good projector screen, as mentioned before, should be able to display the full resolution that your projector is able to give. If you have a 1080p, you should expect to see 1080p resolution (or better) when projecting it on a screen. If you have a 4k, it should look like 4k.
Knowing that my screen is able to support 4k and even 8k, my inference is that screen quality material can be maxed out just by using CineWhite or quality synthetic material. Upgrading your screen isn’t something most people are likely to do since the high-quality material is standard across the board. I got this one for just under $150 from Amazon and I don’t feel the need to upgrade at all. If anything, it will be my projector even though I’m more than satisfied with that one as well.
Verdict
I’ve never had an easier time hosting a movie night with this projector screen because of it’s quality, durability, and portability. I think for most set-ups, the screen can take up the most time to set-up and orientate correctly, but not with this one.
If you’re looking for those components in a screen even if you don’t plan to use it outside, this is what feel is the best one on the market (even better than those big fat inflatable ones that deflate after a couple hours). It’s better than a sheet on the wall, trust me. I used to do that and it frustrated the crap out of me. Now I don’t even have to think twice.
So that’s literally it! I won’t overcomplicate such a simple, yet exceptional screen. You can get it in multiple sizes online but before you do make sure to measure the space on your wall first. If you have any other questions or comments feel free to reach out to me at entertainmentden.ns@gmail.com.